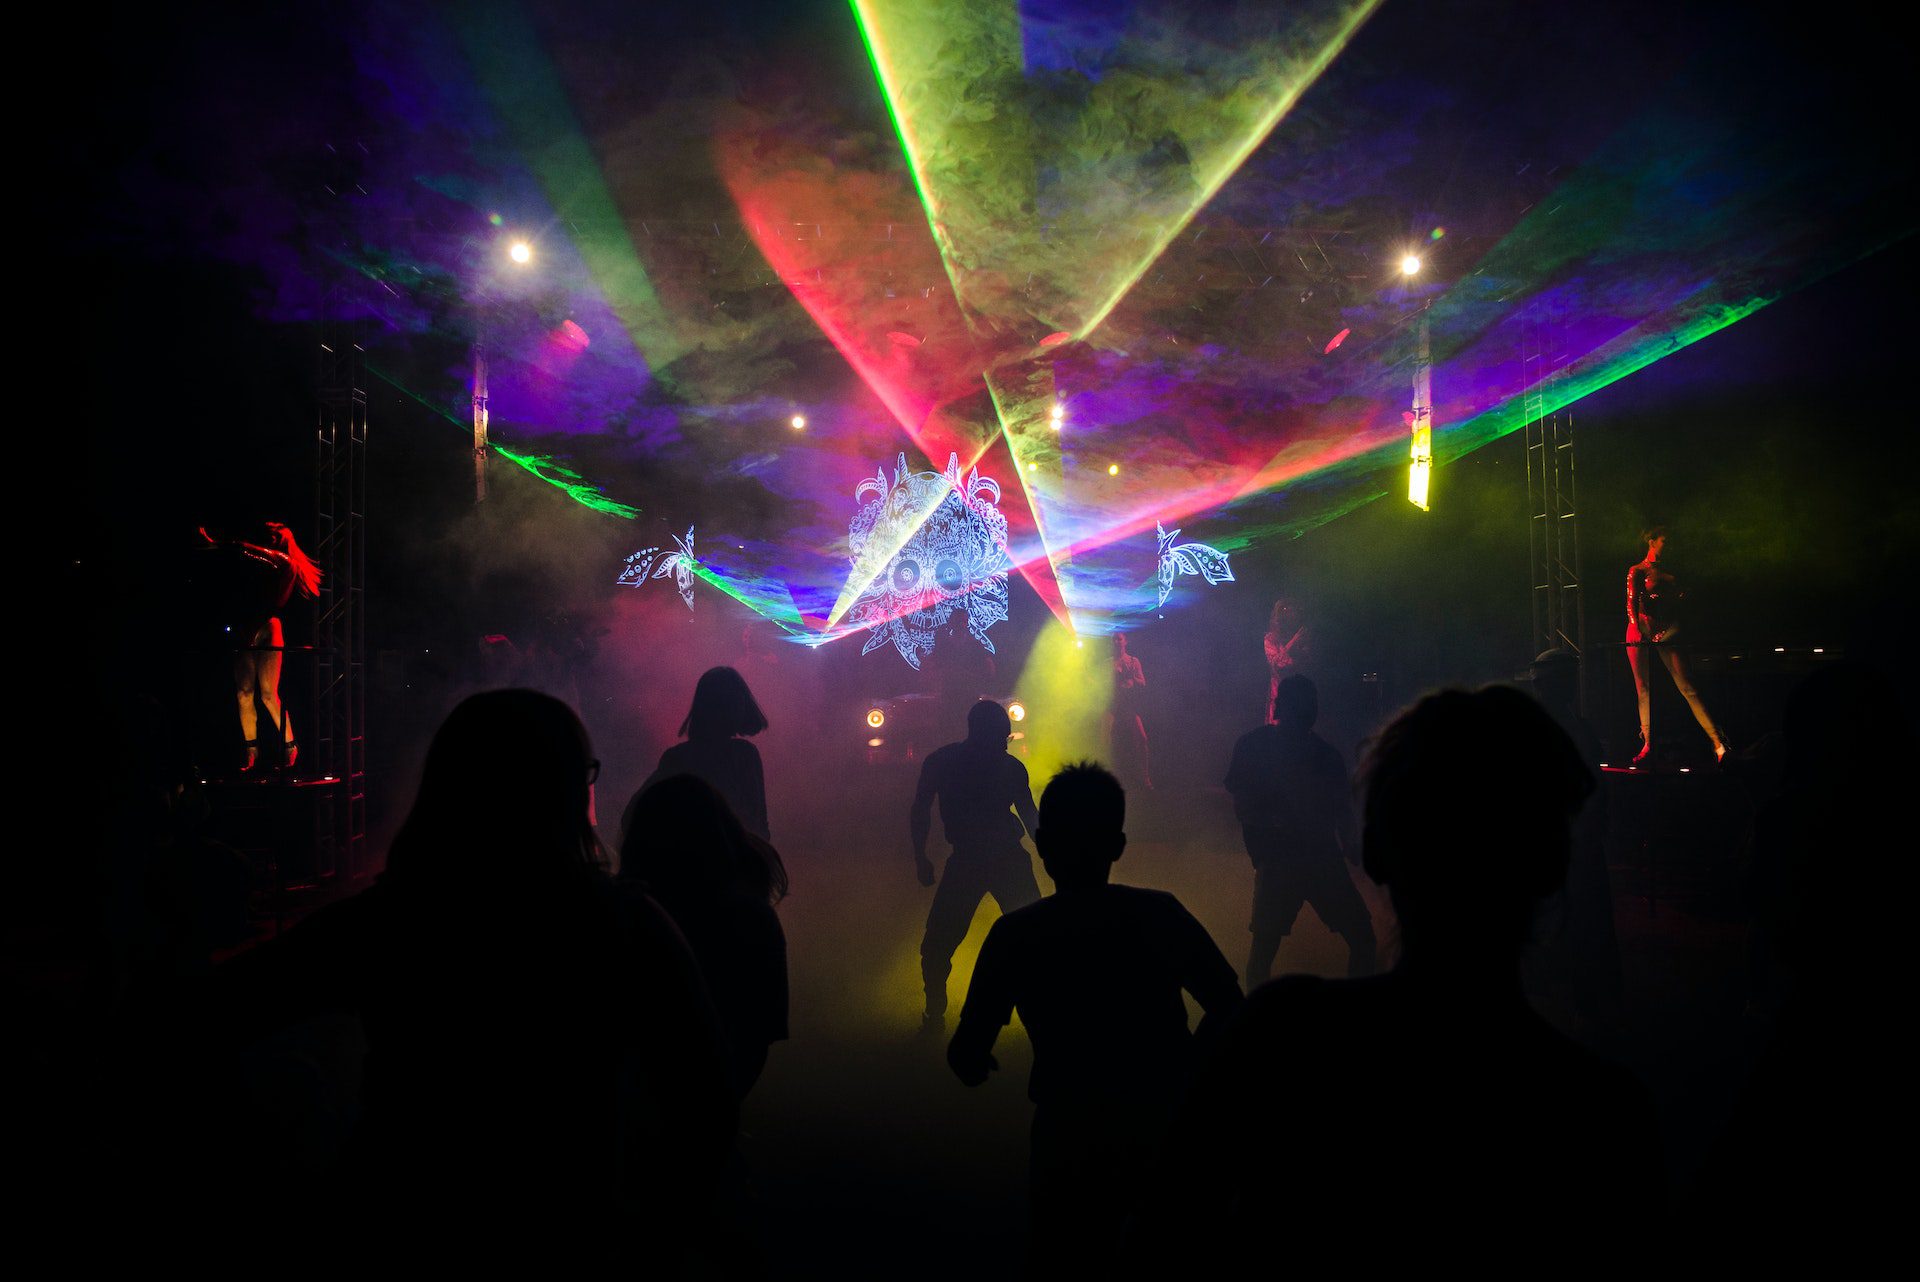
So you just got done capturing a bunch of video footage and now you’re getting into the editing process. But, oh no! Your footage is all noisy and grainy. What do you do?
Editing noisy video footage captured in low light can feel like an impossible task. However, keep your head up! There are many ways to handle grainy low light video footage.
In this post, we’ll cover a few of the easiest ways to turn that noisy low light footage into a spiffy new video. Keep reading to learn how to edit noisy low light footage.
5 Tips for Editing Noisy Low Light Video Footage
- First, adjust contrast and brightness. The first step when working with noisy low light video footage is to see what brightness and contrast changes do. If you’re working with grainy low light footage, it’s likely that the ISO was too high while recording. First, try slowly turning down the brightness. Does that help? Then look to adjust the contrast since noisy footage often lacks that sort of pop. Slowly increase this and evaluate if enough has been done. Be careful not to overdo it! It’s likely you’ll need to do a bit more to get your footage looking proper, but this is a necessary starting point.
- Increase sharpness. You’ll need to be careful when adjusting sharpness on noisy footage, but give it a go. Try making minimal increases to the footage sharpness and see if that helps. Noisy footage lacks definition, so it’s possible you’ll need to slightly adjust this setting to give your footage a more distinct look.
- Use a denoiser plugin. The best thing you can do for noisy footage is ask for help. And no, we’re not talking about hiring an editor. Instead, utilize tools that denoise your footage using AI. Editing platforms like Adobe Premiere have built-in denoisers that work for most purposes. If you’re serious about getting the most out of your footage though, we recommend using the plugin called Neat Video. You can learn more about this denoiser plugin in our Neat Video review.
- Work on your colors. Another way to work with noisy low light footage is to focus on the coloring process. Desaturating your video footage or making the shadows lighter (while increasing contrast) are just a couple of ways you can use a coloring tool like Lumetri in Premiere Pro to fix noisy footage.
- Commit to the noise. It may sound counterintuitive, but sometimes it makes sense to just commit to the noise in your video footage. If the above tips just aren’t working, think about creative ways you can work with the grain. Maybe using After Effects to create a VHS kind of feel is best. Or maybe you can put the video in black and white, jack up the contrast and not even worry about the noise.
In conclusion, editing noisy footage shot in low light situations can be challenging. But it can also be an opportunity to grow your skills as a video editor. Video editors that can polish noisy footage are extremely valuable. So, get out there and create!
And of course, sometimes the best thing to do is to prepare and know how to shoot in low light situations. Here are some relevant posts on BEM if you’re working in low light conditions and shooting or editing concert photography and videography:
Check out this video for more on shooting video footage in low light conditions:
