Final Cut Pro is one of the oldest and most widely used editing softwares. It’s used by beginner to advanced editors across the globe. When speed is king, having a smooth workflow from import to export of a project is essential. And having integrated color tools in your editing system is ideal.
When the built-in tools of the software don’t allow for the advanced options you may require, we have to look into third-party plugins.
Color Finale 2, developed by Color Trix, Ltd, is one such solution for Final Cut Pro users. Plans range from $99-$267, depending on the add-ons you want.
Let’s see how it actually works in this Color Finale 2 Review.
Review of Color Finale 2 Coloring Plugin for Video Editors
Installing Color Finale 2
Installation of Color Finale 2 for Final Cut Pro was simple. It’s just a standard .dmg download and product key entry. The next time you open Final Cut Pro the plugin will be available in the “Effects” workspace.
Note that Color Finale 2 requires Final Cut Pro 10.6.2 or Final Cut Pro 10.6.3.
A license will allow for activation on 2 machines, with 3 transfers. A trial lasts for 7 days with full features. While a plugin like Cinema Grade for Adobe Premiere will open an entirely new workspace window, Color Finale 2 opens in the effect panel in the same way any other applied effect within Final Cut Pro would.
Using Color Finale 2
Like with any good color grading plugin, Color Finale is intuitively arranged to guide you through the color grading process. Arranged from top to bottom are the steps:
- Color Management
- Corrections
- Image Analysis
- Color Chart
- Film Emulation
The most in-depth color tools can be found in the “Corrections” as “Edit Layers”. We will go over this section soon.
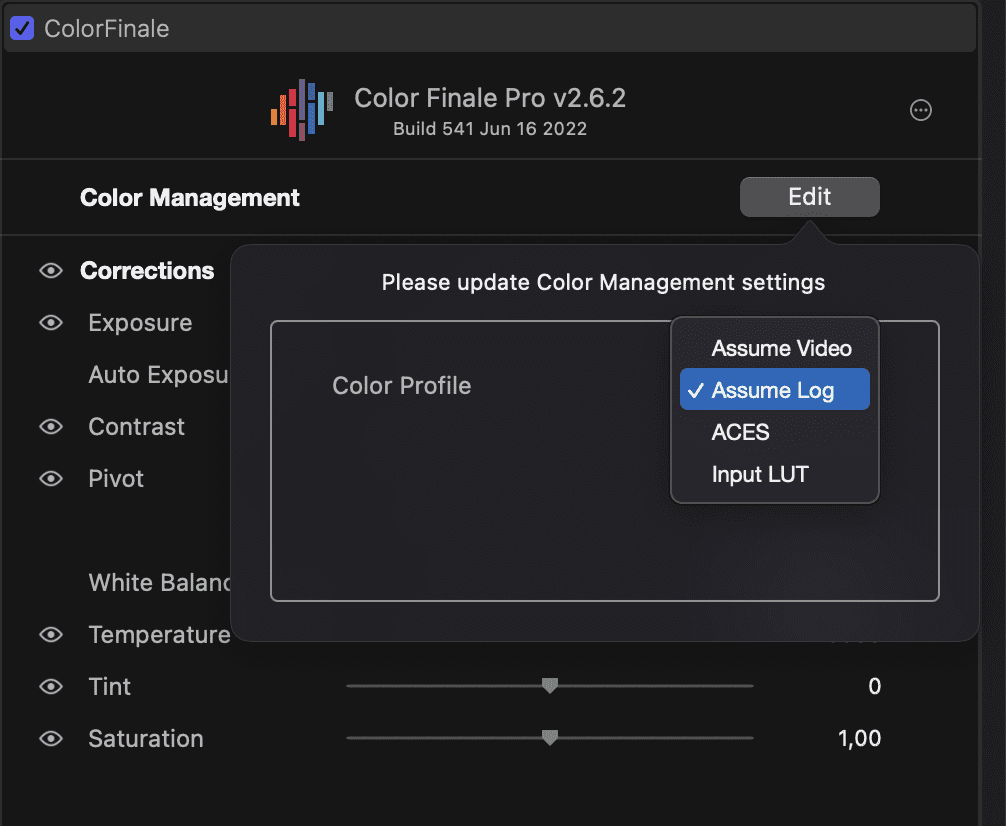
If the colorist has a bank of LUTs they prefer, they can be imported and modified using the MIX control in the Color Management tab. Also, the ASSUME VIDEO, ASSUME ACES, and ASSUME LOG features will guess as to correct contrast and saturation.
- ASSUME VIDEO: used when recording in a standard color space
- ASSUME LOG: used with LOG footage
- ASSUME ACES: allows you to select from various options depending on the camera used.
From an initial pass using the ASSUME LOG on my footage, Color Finale does a great job at getting an initial read on the proper contrast and saturation values to a REC 709 color space.
Your corrections panel is pretty standard. But it also allows you to use the eye drop tool for both exposure and white balance. This helps editors find a grey point to scale the exposure, and an area of the image with similar RGB values to allow for a quick balance pass. This is typically done with the brightest portions of the frame.
Within this panel, you may also create “Sync Groups” to group together color looks. You can also copy a Color Finale adjustment and paste it to other items on the timeline. This feature works even across projects.
Custom Color Correction and Grading in Color Finale 2
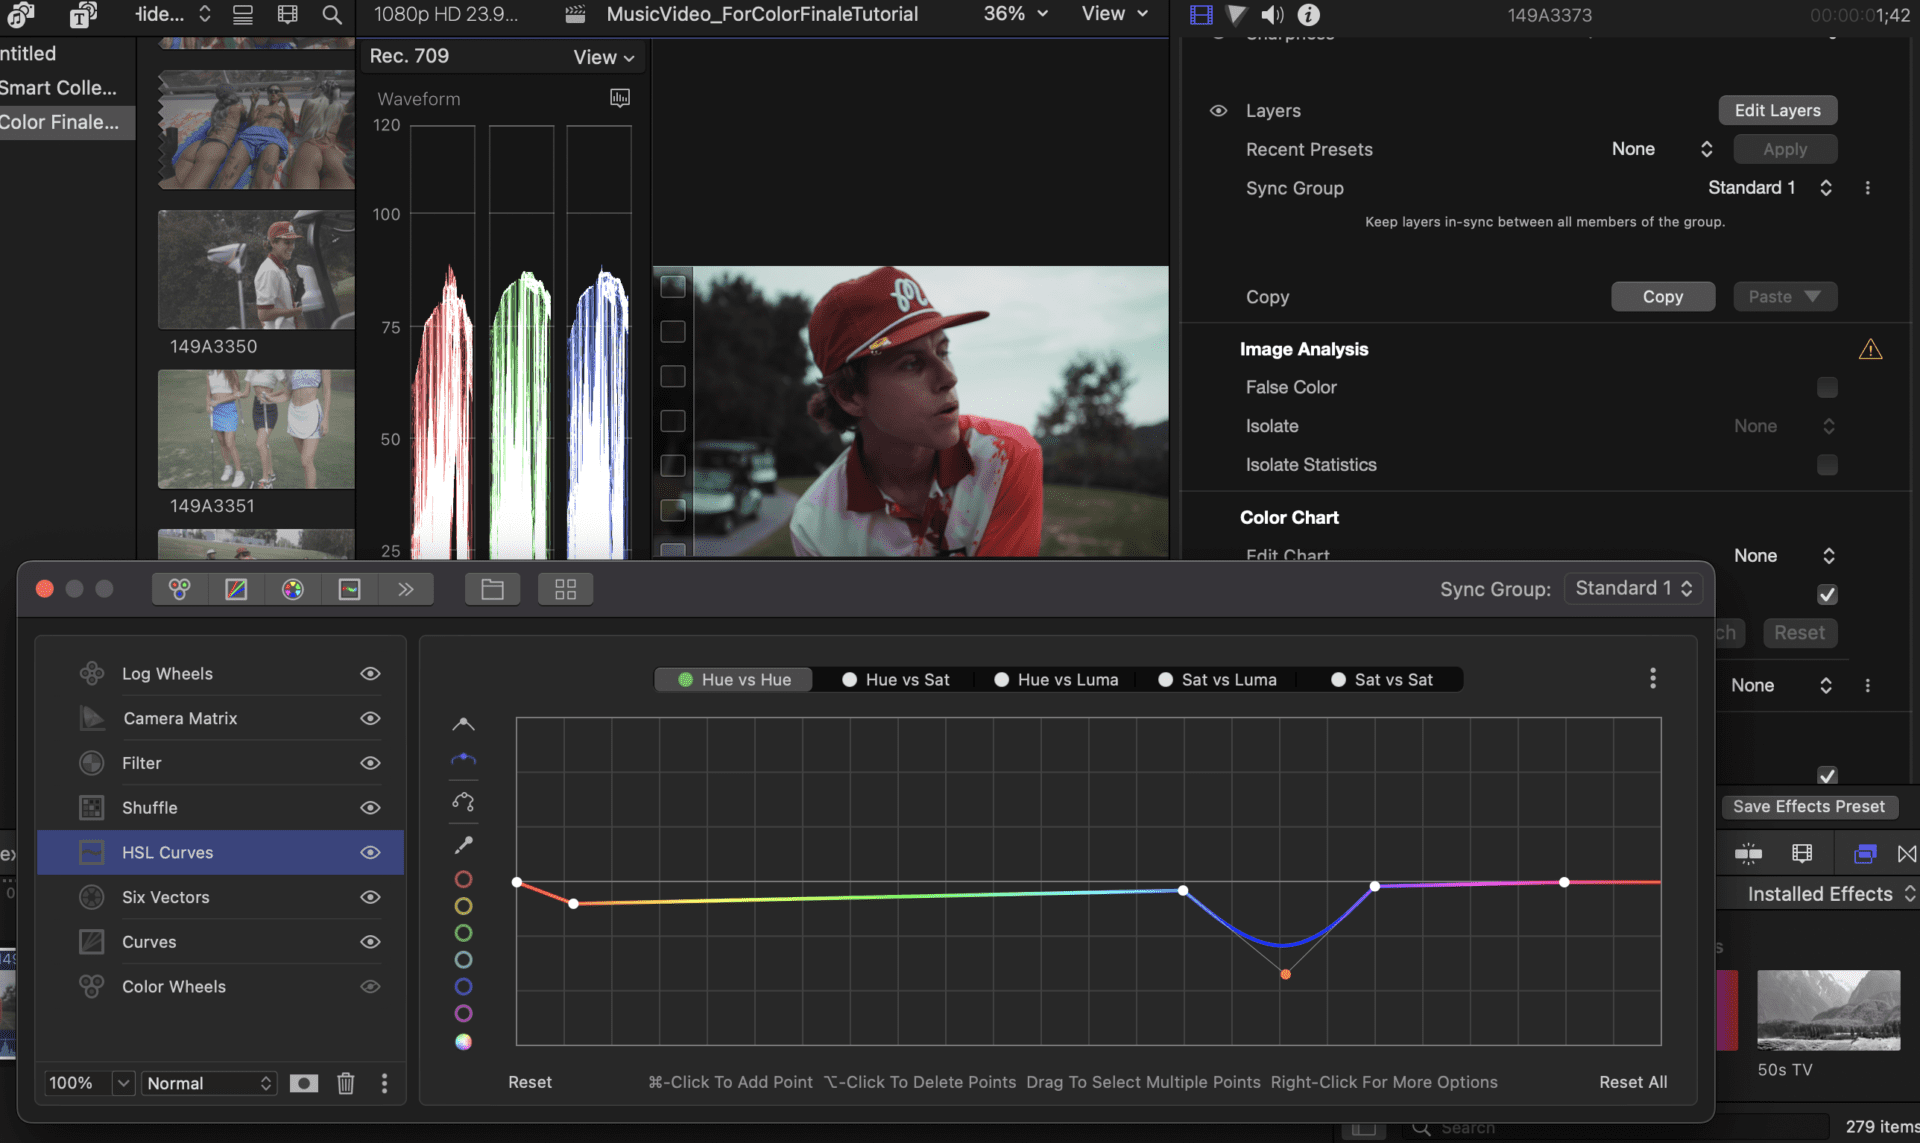
The most important of all the functions in Color Finale are accessed by clicking the “Edit Layers” button within the “Corrections” dropdown in Color Finale. Here you can modify the image using Color Wheels, Curves, Six Vectors, HSL Curves, Shuffle, and filter.
While the color wheels, vectors, and HSL curve options are familiar to most (albeit labeled different that the standard FCP color wheels) the others may not be. But again, all these tools perform the same basic function in different ways. You are always adjusting either Color, Exposure, or Saturation.
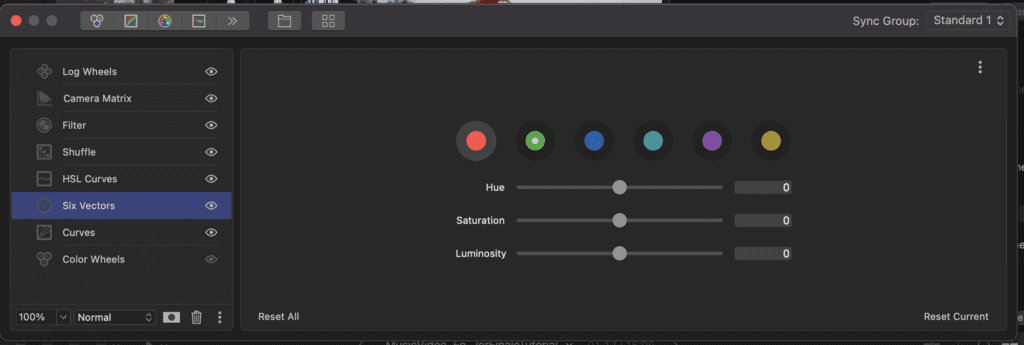
For example, the Six Vectors option gives users a particularly easy way to adjust individual colors. Simply click on 1 of 6 options and make hue, intensity, and brightness adjustments.
And the HSL Curve option does the same. However it gives editors the ability to isolate certain colors outside of the standard 6 with high accuracy.
The Shuffle option provides some creative ways to change color values (i.e change blue channel to green). And it makes fine tune adjustments with color value bars.
The Filter option gives you the ability to select areas of an image to blur or sharpen. This tool is also coupled with a motion tracking tool.
Note that within all of these features is the ability to create masks and motion track. It allows for super accurate adjustments to entire images, or just various portions.
The Image Analysis mode gives one the “False Color” option to help determine the proper exposure for elements in the frame. This is predominantly used to determine the proper exposure for skin tones.
And the Color Chart step allows one to isolate a color chart within the shot and automatically color correct it to correspond to that chart.
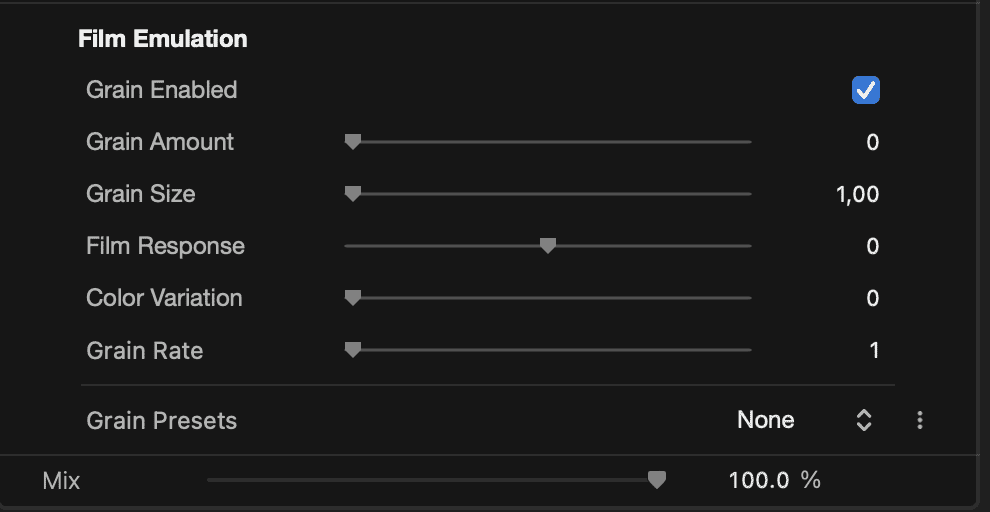
Finally, the Film Emulation dropdown is pretty self explanatory. It gives you several options to add stylized film grain to your final look.
Check out this post for examples of how color grading is done in cinema and why it is important.
Try Color Finale 2 Today!
Color Finale 2 Pros and Cons
Pros
- “ASSUME LOG” is a really powerful feature. It can help one avoid looking through an endless list of LUTS they would like to use. It gives you a great base from which to work with.
- “Sync Group” control option allows for colorists who are making early and late-stage adjustments to avoid the time of having to reapply changes regularly. The plugin does it for you automatically. The save preset option also is highly effective if you have a previously made grade that is applicable to future projects.
- The Color Finale 2 plugin is fully integrated into FCP. This means there’s no leaving the program’s built-in windows and no further clutter of the workspace.
- When doing secondary color adjustments and masking, the blur slider gives the user a smooth adjustment and avoids artifacts. This feature is not available in most color grading plugins.
- A minor but much appreciated improvement is the sharpening in the corrections panel. This tool is high quality.
- In the EDIT LAYERS panel, you are able to view all the LUTS in your computer AUTOMATICALLY. So, no more searching thru folders. Your LUTs pop up automatically. And there is a picture preview of that LUT applied to the shot in question.
Cons
- The Edit Layers controls options are labeled differently (lift, gamma, gain). And they’re oriented opposite of the built-in color tools within FCP which can cause confusion. Certain basic tools also have slightly better presentation in the native FCP functionality.
- On a layout note, I found the “Edit Layers” panel to be a tad overwhelming. These tools generally perform the same function just in different ways. For an advanced colorist this is great. But for someone just trying to get a nice color grade quickly they may skip over this portion entirely. That’s because it doesn’t appear in the initial drop downs. Instead, it is a window accessed through a button in the Corrections dropdown.
- Currently only available in Final Cut Pro.
Color Finale 2 Review Final Verdict – 8.5/10
For someone that leans towards Adobe Premiere Suite when it comes to production, I found Color Finale to be extremely easy and effective. I believe it leans more towards advanced colorists where shot matching and grouping are less emphasized.
The program was extremely responsive when editing LOG footage at 4k, without any cataclysmic system shutdowns or bogdowns. And having all the tools available within FCP itself rather than moving to an outside program, coupled with group syncing and an efficient copy/paste system allowed for a speedy workflow.
I would recommend Color Finale 2 for more advanced colorists. If you’re looking to fine tune an image with all the tools necessary to make that happen, this is for you.