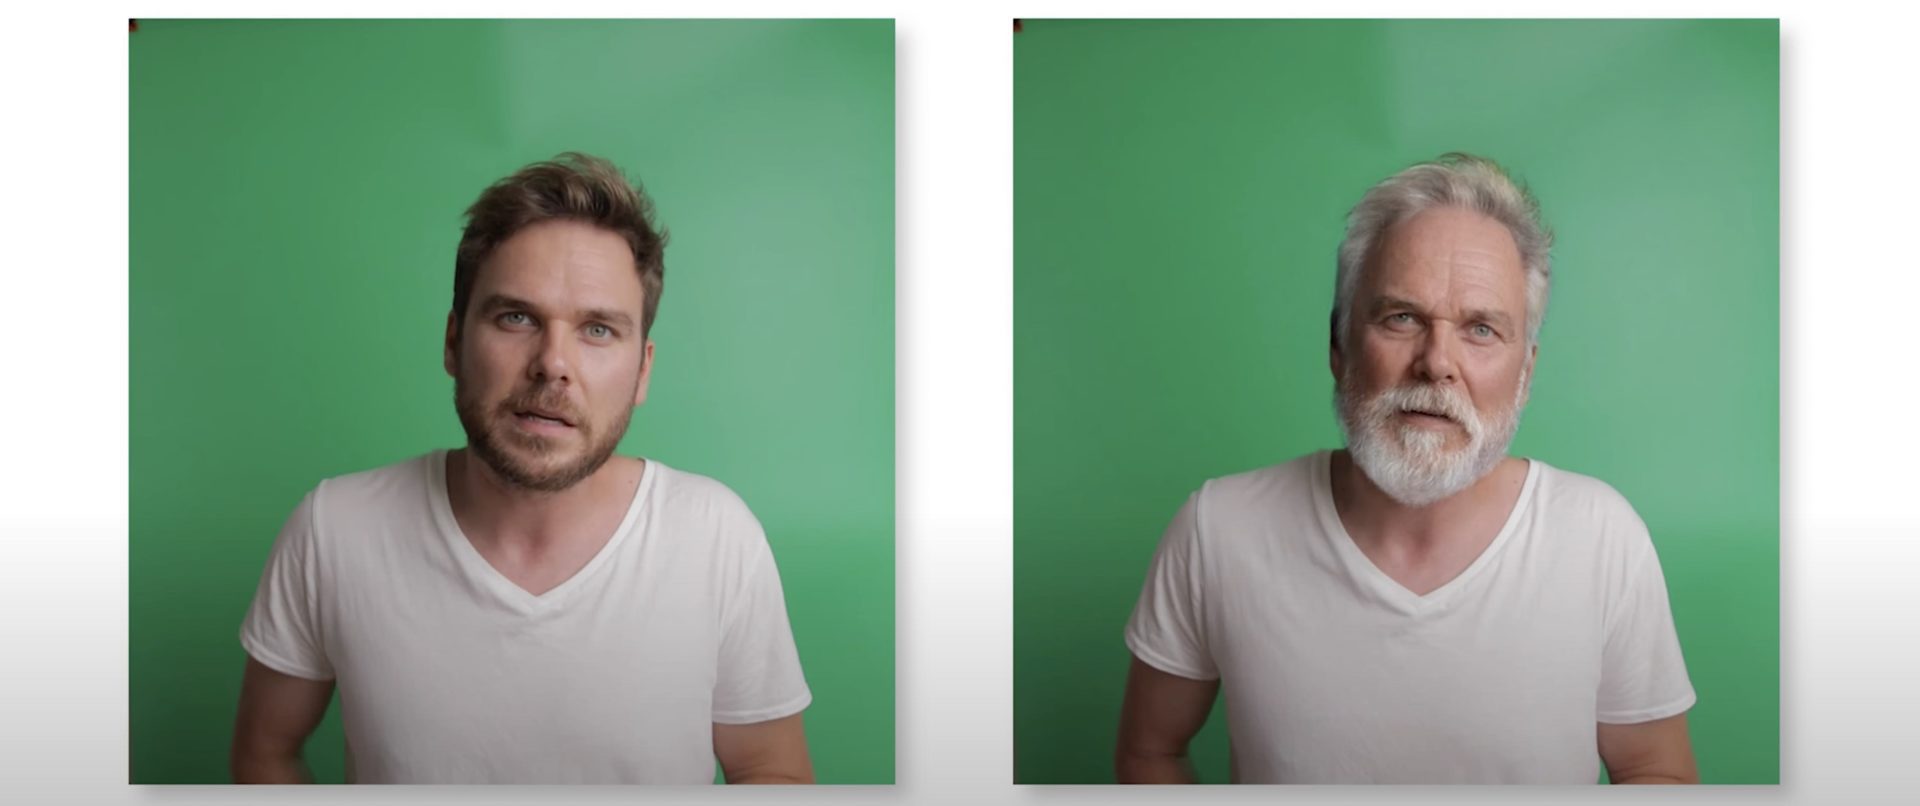
If you could stay young forever, would you? What if you could stay young, but look old in video footage? In this tutorial, we’ll show you how to make a young person look old in your video footage!
To pull this trick off, we’re enlisting the help of our friend Toni Larsen – videography extraordinaire. (Find him at his website or YouTube channel).
In order to follow along and create this stunning video effect, you’ll need a few programs. Toni recommends using FaceApp, EbSynth, Adobe Premiere, Photoshop and After Effects.
Check out the video below to learn how to create this aging effect. You can also scroll below the video to see a portion of the transcript from his video.
How to Create Aging Effect for Video Footage
Can’t wait to waste your life and look back in regret? Well, let’s speed up that process.
We’re going to do so by using the apps FaceApp, EbSynth and After Effects and a little bit of Premiere and a little bit of Photoshop.
3 Tips for Shooting Footage for the Aging Effect
- Tip #1: Sit close to your camera. Let your face fill the frame because this is where the effect is going to be. And we want it to be big and sharp.
- Tip #2: Don’t move around too much. If you do, the effect will kind of spill all over the image.
- Tip #3: Don’t cover your face. Don’t wear glasses and don’t wave your hands around. Just keep it clean.
Shooting Setup for Making Young People Look Old in Video
So for my shooting setup, I’m using a green PVC backdrop. And this is for two reasons:
- I want to play around with what kind of background feels relevant.
- When adding the aging effect (or any other effect for that matter), the effect has a tendency to kind of skew around the background. We’re eliminating that problem by just removing the background completely.
And also, this is a video where we’re talking! So remember, good audio, audio matters.
How to Edit Your Footage to Turn Young Person Old
So, after you’re done shooting:
- Import your footage to Premiere and cut the video down to the length that you want.
- Export the sequence as individual frames. Remember to have a good folder structure so you know where you find all of your assets.
- Scroll through the PNG images and find a sharp image that we can use as reference.
- Send it to your phone.
- Go to the App Store on your phone and download the free FaceApp.
- Then import the reference image you saved, add the aging effect and save it.
- Next, send the image back to your computer.
- And since the free version of FaceApp exports a low-res JPEG with a watermark, we’re going to open up the original PNG reference file in Photoshop, then add the JPEG image on top of that. Scale it up and then erase everything around the face because that’s the only thing we really need.
- Now, save this image and remember to have this file named the same as the original reference file. This is because EbSynth needs to know where this image belongs in the PNG sequence.
- Now open up EbSynth (which is free to download, by the way).
- Select the first frame of your PNG sequence and then select the reference image.
- Next, click on the advanced dropdown tab and increase the deflector value to 1.5.
- Select the output folder where you want your video to go and press “Run All”.
- Once the render is done, check the video to make sure the effect actually worked. If it didn’t, you may need to select a different reference image. Maybe even play around with the flicker.
- Let’s import this video to Premiere and add it on top of our original sequence.
- You’ll want to fade in the video aging effect. Take this sequence and export it as a ProRes 422 file. We’ll be taking this into After Effects for more work.
- Open up After Effects and import the ProRes video.
- Create a composition and add your video.
- Then go over to the effects tab on the right side and find “Key Light, Key Cleaner and Advanced Spill Suppressor”.
- Drop this on the video and go to the project settings. Use the color picker to select the green background.
- Then, on the view on the left side, press the dropdown menu and then select screen matte. Now adjust the screen gain to fill in the blacks and also adjust the screen balance to fill in the white. This is because we want as little gray as possible. We want the white to be white and black to be black.
- Now change the view back to “Intermediate Result”. Within the green screen settings, activate the advanced spill suppressor. This is because if you have some green on your face, it will try to remove that as well.
- At this point, you can add in a background image of your choice! Also, feel free to edit scale, position or any other settings of your video at this point. And finally, add some music!
- Export your video and enjoy.
And that’s how you make a young person look old in your video footage. For more fun video editing tutorials, check out these top After Effects free tutorials. Or, color your export with one of these best color grading softwares.

