Video editors often waste a ton of time trying to achieve that cinema look and feel with their colors. And while learning to color grade like a professional is a noble goal, it’s not necessarily easy. Plus, sometimes deadlines or the fast pace of uploading content to platforms like YouTube or Instagram doesn’t allow for detailed color grading.
That’s where LUTs come in. But, what are LUTs? And, how do you use LUTs in video editing?
Those are excellent questions with simple answers. Keep reading to learn what LUTs are and how you can use them to improve the look of your videos! Plus, we’ll include some links to websites where you can download free LUTs to use today.
But first, let’s start with the basics.
What are LUTs?
At their most basic level, LUTs are color filters that can be saved and applied to clips or entire videos. LUT is an acronym which stands for “Lookup Table”. These Lookup Tables are an array of numbers that have been predetermined to effect color values in certain ways.
So, when you download LUTs from the internet or use preloaded LUTs in a video editing platform like Adobe Premiere Pro, you’re really working with numbers.
The footage on your timeline starts with an array of numbers based on the colors shot. Then, the color correcting adjusts those numbers. Finally, when you use LUTs to color grade (remember, color correcting and color grading are different!), those numbers change again.
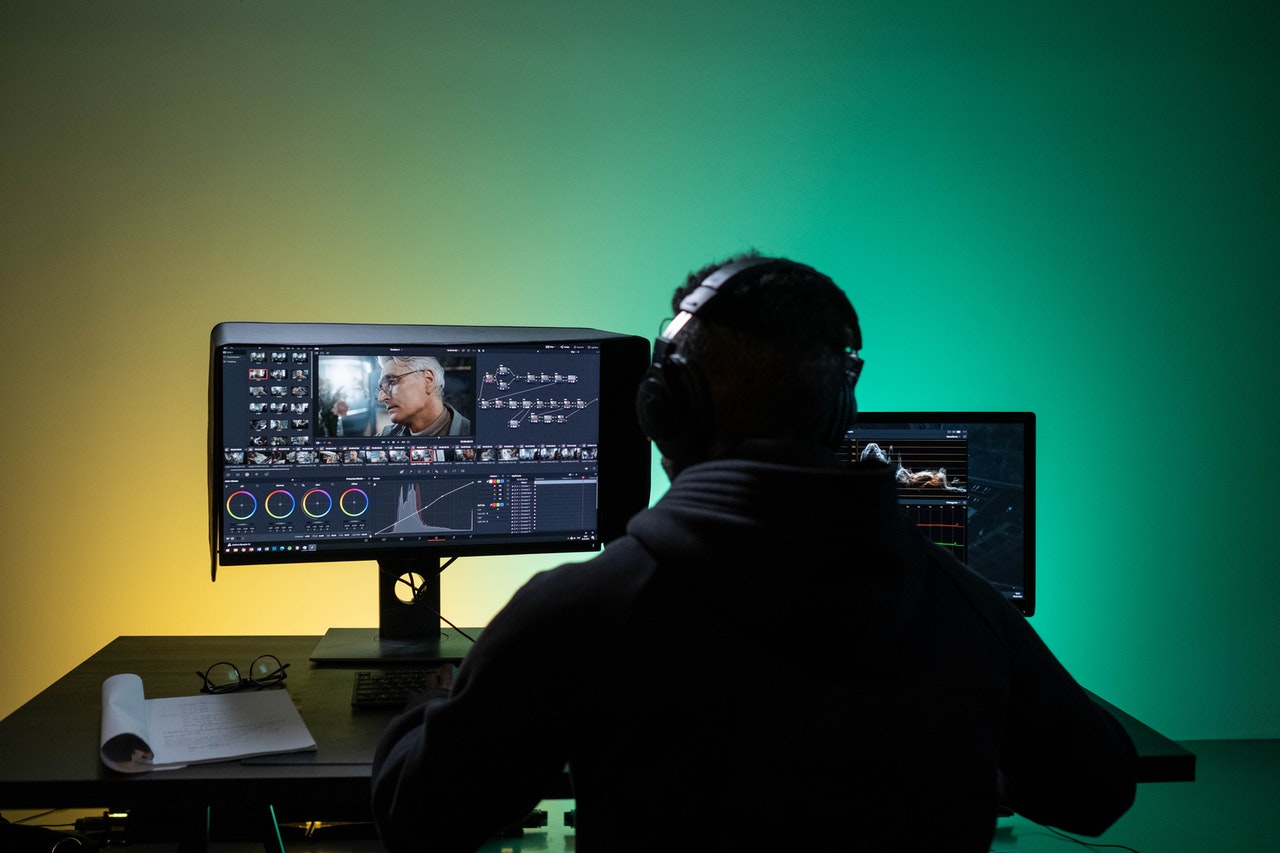
LUTs are commonly used by video editors as a way to speed up the post-production process while also improving the look of the footage. The most common LUTs are those that give videos a cinematic look.
LUTs can be downloaded online (we’ll share some great sources soon). And they can even be created with color grading software like Color Finale 2! In Color Finale 2, you can create a look, save it and apply it to videos you make later.

Now that you have a basic understanding of what a LUT is, let’s talk about where to find LUTs. There are some great free LUTs online and some even better LUTs you can purchase. Then, we’ll finish by showing you how to use LUTs in video editing platforms like Premiere Pro and Final Cut Pro X.
Where to Find LUTs to Use in Your Videos
There are TONS of LUTs online available for you to purchase and use in your videos. For example, you can find LUTs to create a 35mm look. Or even LUTs to mimic the look of your favorite filmmakers, like Ridley Scott, the director of Blade Runner 2049, The Martian and many other timeless classics.

If you’re just getting started with using LUTs in video editing, start with some free downloads. Here are three sources you can use to download a ton of LUTs for free.
Download Free Video LUTs
Alright. So, you now understand what LUTs are and where to get them. Let’s wrap this up by explaining how to use LUTs in Adobe Premiere Pro and Final Cut Pro X.
How to Use LUTs in Video Editing
First, we’ll look at Adobe Premiere Pro. Then, we’ll get into Final Cut Pro X to wrap things up.
Adobe Premiere Pro
- Navigate to the “Common” folder: On Mac, go to /Library/Application Support/Adobe/Common. And on PC, you’ll go to C:\Program Files\Adobe\Common
- Create “LUTs” folder: Within the “Common” folder, create a new folder and name it “LUTs”. We also recommend creating two additional folders within the new “LUTs” folder. Name one “Creative” and another “Technical”. Technical LUTs can be used to convert footage to a different color space, while creative LUTs include things like cinema grades.
- Add LUTs to the appropriate folder: “Creative” or “Technical”
- Restart Premiere
- Apply your LUTs: Once you reopen Adobe Premiere Pro, your LUTs will be available. You can access them by adding the Lumetri effect to a clip or an adjustment layer. Then, navigate to the “Creative” tab. Click the “Look” dropdown, and voila! Your LUTs have arrived.
If you have any trouble, check out this LUT FAQ at the Adobe website.
Final Cut Pro X
- Open Final Cut project
- View settings of clip to receive the LUT: Click on the clip (or adjustment layer) you’d like to add a LUT to. Then, in the Info inspector, click the dropdown that says “Basic” at the bottom of the inspector. From there, select “Settings”.
- Import LUT: This will change the layout of the Info inspector. Click on the dropdown next to “Camera LUT” and select “Add Custom Camera LUT”. Navigate to the folder where your LUT is located and select it.
If you experience difficulties, check out this guide from Apple.
Closing Thoughts on LUTs and Final Suggestions
Understanding and using LUTs is simple. And it makes for better videos! One recommendation we have is to play around with your footage once your LUT has been applied. Sometimes small tweaks can personalize a video more. And applying LUTs to an adjustment layer is a good idea because it allows you to adjust the opacity and intensity of the LUT.
If you’re interested in diving deep into color correcting and color grading, check out our list of the 5 best color grading software for video editing. Or, see our running list of all the color grading tools we know of.
And finally, upgrading to a high-end video editing monitor can pay huge dividends.
In closing, just have fun! There’s nothing more exhilarating than watching a beautiful video you made. But don’t forget to enjoy yourself throughout the process.