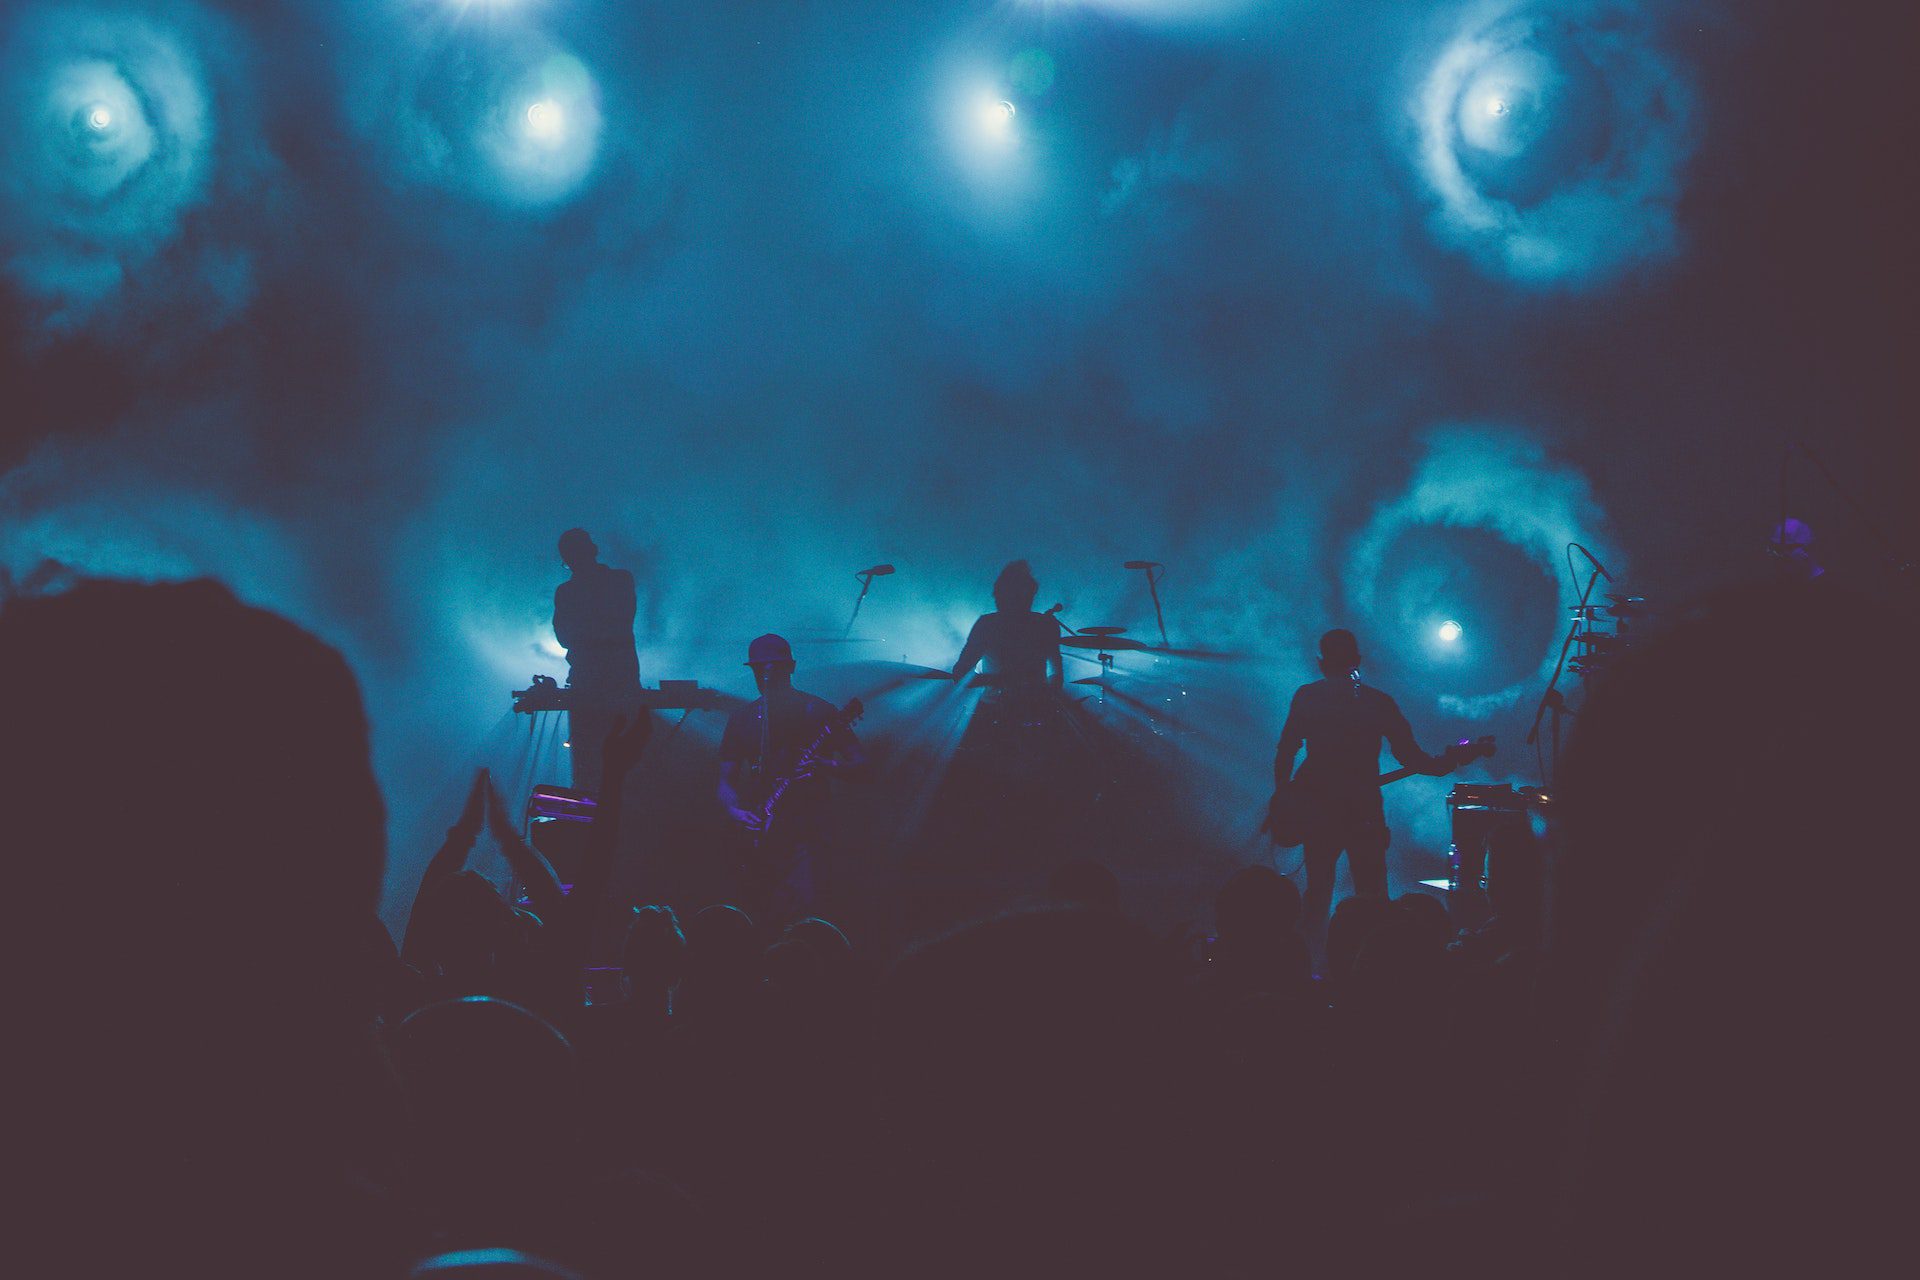
The encore just ended, and the venue lights have just come on. The silence is fleeting. As the crowd begins the slow shuffle home, you look down at your camera, eager to get to work on the images you made from the night.
Chances are there are hundreds of images on your camera that need to be culled, selected, edited, and submitted to a client. You also probably have a deadline.
Here are 20 tips for curating your images from the night into a cohesive story.
If you’re getting ready for a shoot at a music event, check out our tips on how to best shoot photo and video at a concert. And if you’re looking for the right gear, here are the best 5 cameras for concert photography.
And of course, be sure you have the right photo editing monitor to get the job done!
20 Tips for Editing Photos from a Concert
1. Ingest and backup the images, then rest
The first thing to do is back up your images. Many photographers use two SD cards and create a backup at the time of exposure. If you have done this, set one card aside.
Next, use a program such as Adobe Bridge, Lightroom, or Photo Mechanic to ingest your photos to a hard drive and then back them up to another location. I recommend Photo Mechanic because you can apply metadata and keywords and copy the images to two locations, all at the same time.
Finally, get some well-deserved rest.
2. Metadata
Concert photography is a form of storytelling. Metadata is a way to include part of the story with every image. It is the boring yet essential part of photography. Know what metadata you want to include before ingesting so you can apply it to each image. Things like copyright, date, location, titles, keywords, and more are all important. Especially if the images are going to be published in any form.
3. Cull the images
Sorting through hundreds of photographs to find the best 20 or 30 can be a daunting task. Start by scanning through the images and starring an image that is acceptably in focus, has a balanced exposure, and the composition is strong. Then filter out the unrated photos. With a finer approach, go back through the images and double-star the stronger compositions. Repeat this process until you are up to four or five stars and have five to ten images more than you need. Learn the keystrokes for adding a star rating to your image, this will save you time.
4. Lens correction
When using a wide-angle lens, do not forgo this step. Most applications allow this step to happen upon ingesting. However, if you forgot to click the box, it can also be done to all your images simultaneously. Most software and lenses out today have built-in profiles that can be selected. Be sure to take a moment and look at any bright and dark interfaces within an image. There could be a defringing that needs adjustments, either magenta or green.
5. White balance and color correction
White Balance and color correction can be tricky with concert photography. There are often multiple sources of light with varying degrees of color temperature. The key is making sure skin tones are accurate. Any other color variation in the image can be attributed to the vibrant lighting conditions of the concert. Use your best judgment when adjusting the color temperature and tint sliders. If an image is too colorful and finding accurate skin tones is impossible, consider a black-and-white treatment.
6. Check for clipped highlights and shadows
While it is best to get the exposure as close to perfect in camera, when working in low light conditions with fast-changing light, this is not always possible. Run through your selection of photographs and check for clipped highlights and shadows. Hold the Alt/Opt key while clicking on the highlights or shadows slider or hover the mouse over the small triangles in the upper corners of the histogram in Lightroom. This will show you where there is no information and help inform your exposure adjustments.
7. Exposure
With modern editing programs such as Photoshop, Lightroom, and ON1 Photo Raw, adjusting exposure is extremely precise and accurate. If an image is too dark, begin by boosting the shadows and then subtly adjust the blacks. If you need more, bring up the overall exposure. For an image that is too bright, do the opposite; bring down the highlights and whites before dropping the exposure. For more nuanced and subtle adjustments, use the levels and curves tools.
8. Increase the contrast
Once the exposure is acceptable, you will want to bring up the contrast. RAW images can be flat and lackluster. You may clip some highlights or shadows here, but as long as the amount clipped remains below 10-12% and is dispersed throughout the image, it won’t impact image quality. Using the tone curve will give you the greatest flexibility in adjusting the contrast. If you want more control, use the levels and curve adjustments below.
9. Levels
A levels adjustment lets you alter the intensity of the shadows, midtones, and highlights. For concert photography, this is handy because of the low-light conditions. The levels adjustment tool will have a node for each segment. Adjusting these will boost contrast and bring an image to life. Be sure to watch for clipped highlights and shadows.
10. Curves
Curve adjustment is a great way to boost the color and contrast of any image. It adjusts the global image or individual color channels. Knowing how to read a histogram is important because these tools essentially redistribute the luminance values of the image. If an image is too dark, you can add a node to the shadow end (left) of the curve and bring it up. To add contrast, simply drop the shadow portion slighting and raise the highlight (right) side up.
11. Crop
Not every image will be perfectly balanced and composed. The crop overlay is a great tool to use when adjusting the image. For images that are too cluttered, off-kilter, or just too far from the subject, cropping them can turn a mediocre image into a magnificent one.
12. Is there noise?
Chances are you have several images that were created at a higher ISO, meaning more noise in the image. Adjusting noise in post is a balancing act between sharpness and noise. Most editing software includes noise reduction, some are better than others. Topaz Labs’ Denoise AI is solely dedicated to noise reduction. With the following settings in place, most noise will be reduced; however, be sure to sharpen the image.
- Set Luminance/Contrast to 50
- Set the smoothness to around 75
13. Sharpen the edges
Sharp images are expected these days. Yet, in low light conditions, such as concert photography, absolute sharpness is a challenge to get. Under the Detail panel in Lightroom or the Unsharp Mask filter in Photoshop, you can apply sharpening to just the edges with the following settings:
- Set Masking to 45-55
- Set Amount to around 60
- Set the Detail to about 40
14. Local adjustments
Some images require selective editing to highlight only a portion of the image. This is known as local adjustments. All other edits thus far have been global adjustments. Using a radial mask or brush mask in Lightroom can brighten (or darken) select areas of an image. For concert photography, you may want to bring up the exposure of just the singer in the band. A radial mask is perfect for this. Below is a video that goes over the powerful new masks in Adobe Lightroom.
15. Black and white
By removing the color from an image, the viewer is forced to process the color information from memory. Black and white images emphasize the light and subject, both of which are visually strong in concert photography. Play around with the black and white settings for a handful of your culled images. Chances are you have some that will have a stronger impact without the color.
16. Split toning
Split toning is a great way to inject a personal style into concert photography. The term is a carryover from film and means to apply separate colors to the highlights and shadows. It is a trial and error process that is easy to overdue. Most editing softwares have a dedicated tab for this process. Split toning a black and white image is another great tool to develop your personal style.
Check out this post for more on why color grading is important.
17. Using presets
After you have photographed and edited the photos of a few concerts, you may start to notice the preferences you have for editing. This is your personal style being developed. If you find yourself applying the same edits to every image, even from different concerts, consider creating a preset. This is a powerful tool that can speed up your editing time. Once created, you can apply the edit to all your images upon ingesting the photographs.
18. Export your images
Now that you have a culled and edited batch of concert photography, it is time to export the files. Most editing softwares have an export option. This allows you to bulk export the images to a folder of your choosing. You also can set the parameters of the export. Things like file size, resolution, output sharpening, and more. Depending on your client, the resolution and size of the final image may vary. Be sure to know this information before exporting.
19. Backup your work
Losing images can be annoying and frustrating. Create a backup system that works for you. For example, I back up all of my images to a second hard drive at the end of each month. If the project is of higher value, then I back up immediately. The key is to stick to a routine that ensures your work is on two separate disks. A third cloud location provides another level of protection as well.
20. Find the next gig
Where one gig ends, the next begins. Use your prior concert photography and new skills in editing concert photos to land the next gig. Cold email venues. Reach out to band managers and promote your work. Sharing your best images will showcase your skill set and increase the likelihood of you getting a new gig.
Concert photography is a challenging and rewarding genre. Combining music and photography, the work is fast-paced and has the potential to become quite lucrative. But nothing is fruitful without dedication, practice, and hard work. With these, you now have the tools to craft stunning concert photography and boost yourself as a concert photographer.
If you’re looking for a photo editing workflow, check out our step-by-step guide on editing street photography.